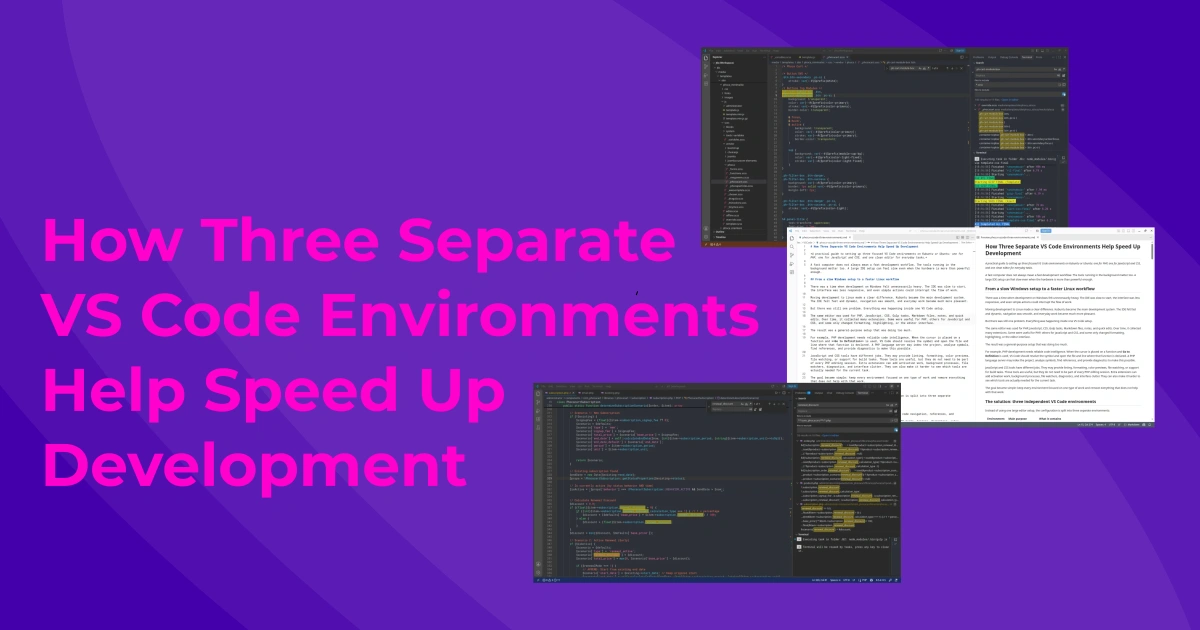
A practical guide to setting up three focused VS Code environments on Kubuntu or Ubuntu: one for PHP, one for JavaScript and CSS, and one clean editor for everyday tasks.
A fast computer does not always mean a fast development workflow. The tools running in the background matter too. A large IDE setup can feel slow even when the hardware is more than powerful enough.
From a slow Windows setup to a faster Linux workflow
There was a time when development on Windows felt unnecessarily heavy. The IDE was slow to start, the interface was less responsive, and even simple actions could interrupt the flow of work.
Moving development to Linux made a clear difference. Kubuntu became the main development system. The IDE felt fast and dynamic, navigation was smooth, and everyday work became much more pleasant.
But there was still one problem. Everything was happening inside one VS Code setup.
The same editor was used for PHP, JavaScript, CSS, Gulp tasks, Markdown files, notes, and quick edits. Over time, it collected many extensions. Some were useful for PHP, others for JavaScript and CSS, and some only changed formatting, highlighting, or the editor interface.
The result was a general-purpose setup that was doing too much.
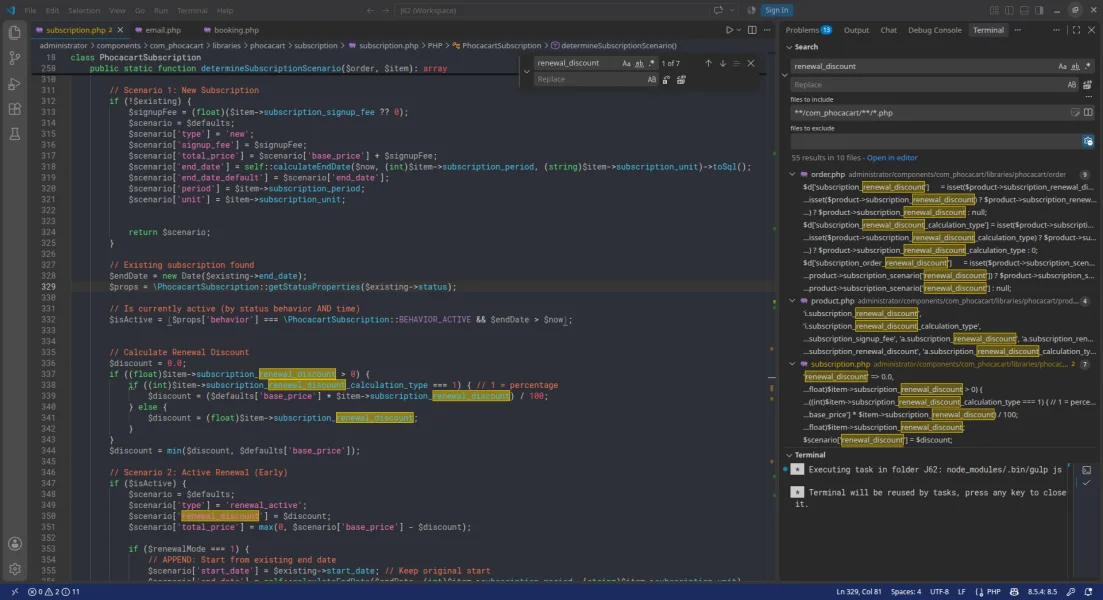
For example, PHP development needs reliable code intelligence. When the cursor is placed on a function and Go to Definition is used, VS Code should resolve the symbol and open the file and line where that function is declared. A PHP language server may index the project, analyse symbols, find references, and provide diagnostics to make this possible.
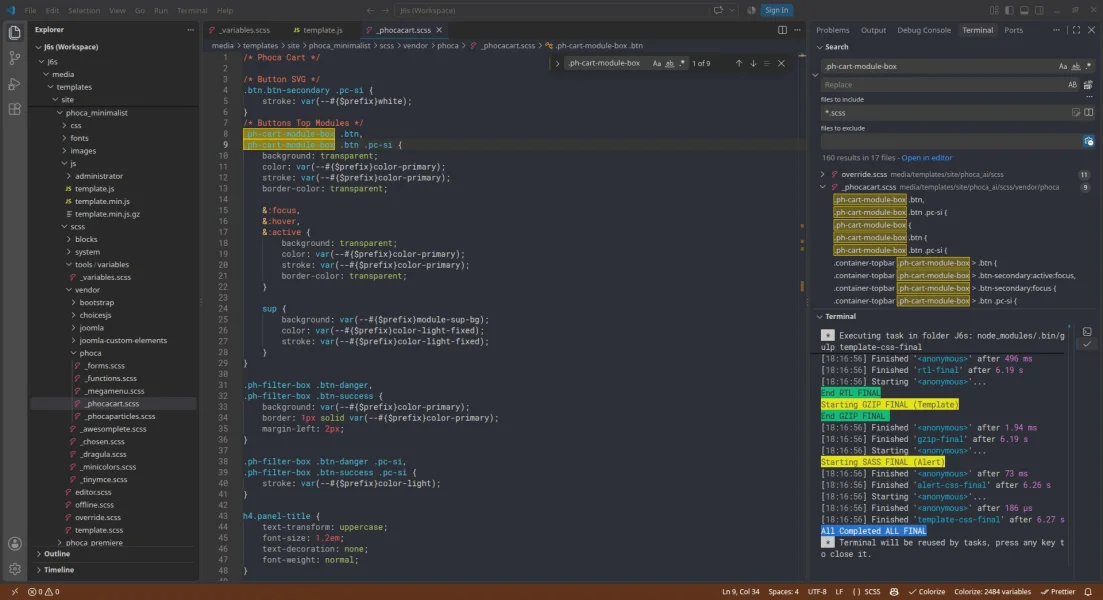
JavaScript and CSS tools have different jobs. They may provide linting, formatting, color previews, file watching, or support for build tasks. Those tools are useful, but they do not need to be part of every PHP editing session. Extra extensions can add activation work, background processes, file watchers, diagnostics, and interface clutter. They can also make it harder to see which tools are actually needed for the current task.
The goal became simple: keep every environment focused on one type of work and remove everything that does not help with that work.
The solution: three independent VS Code environments
Instead of using one large editor setup, the configuration is split into three separate environments:
| Environment | Main purpose | What it contains |
|---|---|---|
| PHP | PHP development | PHP language intelligence, code navigation, references, and PHP-related development tools |
| JS & CSS | Frontend development | JavaScript and CSS tools, linting, formatting, color previews, and the Gulp workflow |
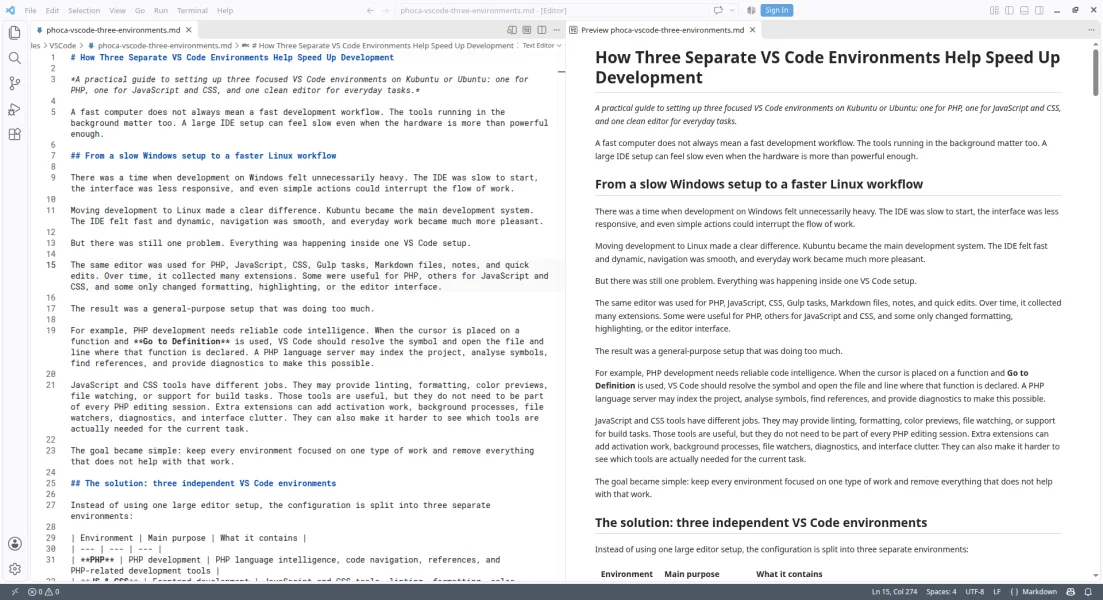
| Editor | Everyday editing | A clean editor for Markdown, notes, configuration files, and quick changes |
The important detail is that these are not just three windows with different project folders. Each environment has its own settings directory and its own extensions directory. The PHP environment cannot load the extensions installed only in the JS environment, and the clean editor does not need to carry the PHP or frontend toolset.
VS Code has built-in Profiles, but this guide uses a different approach. It starts the same VS Code installation with separate --user-data-dir and --extensions-dir paths. This creates three isolated instances, including separate interface state and extension collections.
The examples below use the Linux account user. Replace it if your account has a different name.
1. Install the desktop version of VS Code
This guide uses the official Debian package (.deb) on Ubuntu or Kubuntu. It does not use the Snap version. The launchers and commands below are designed for the standard system executable, usually located at /usr/bin/code.
You do not need to remove an existing Snap installation just to read this guide. However, if you want to follow this setup, we recommend switching from Snap to the official .deb version first. This ensures that all launchers use the same predictable VS Code installation.
Important: Back up your VS Code data before removing Snap. This includes your settings, keybindings, snippets, installed extensions, workspace state, and any other data you want to keep. Make sure your project files are also backed up separately, especially if you have stored anything inside Snap's application data directories.
You can check whether the Snap version is installed:
snap list | grep codeIf you decide to switch to the .deb version, first make sure your backup is complete. You can then remove the Snap installation:
sudo snap remove codeIf you do not have the Snap version installed, simply continue with the next step.
Install the official Microsoft package repository and VS Code:
sudo apt update
sudo apt install -y wget gpg

wget -qO- https://packages.microsoft.com/keys/microsoft.asc | gpg --dearmor | sudo tee /usr/share/keyrings/microsoft.gpg > /dev/null

sudo tee /etc/apt/sources.list.d/vscode.sources > /dev/null <<'EOF'
Types: deb
URIs: https://packages.microsoft.com/repos/code
Suites: stable
Components: main
Architectures: amd64,arm64,armhf
Signed-By: /usr/share/keyrings/microsoft.gpg
EOF

sudo apt update
sudo apt install -y code
Check the executable path:
which codeFor this installation, it should normally return:
/usr/bin/codeThe next steps use this path in the desktop launchers.
2. Create separate data and extension directories
Each environment needs two locations:
- a user data directory for settings, UI state, and other user data;
- an extensions directory for its own extensions.
Create all six directories:
mkdir -p ~/.config/Code-PHP/User
mkdir -p ~/.config/Code-JS/User
mkdir -p ~/.config/Code-Editor/User

mkdir -p ~/.vscode-php
mkdir -p ~/.vscode-js
mkdir -p ~/.vscode-editor
The directory structure will look like this:
/home/user/
├── .config/
│   ├── Code-PHP/
│   │   └── User/
│   ├── Code-JS/
│   │   └── User/
│   └── Code-Editor/
│       └── User/
├── .vscode-php/
├── .vscode-js/
└── .vscode-editor/
There is no need to delete the normal VS Code configuration. These instances use their own directories and leave the original setup separate.
3. Install only the extensions each environment needs
Each VS Code environment has its own extension directory. This means an extension installed for PHP is not loaded by the JS environment, and the clean Editor does not need to load either set of development tools.
The commands below show the extensions used in our setup. Run them in a terminal after creating the directories in the previous step. The --user-data-dir and --extensions-dir options make sure that every extension is installed into the intended environment.
PHP environment
The PHP environment includes a theme and two PHP development extensions. Together, they provide PHP language support and code intelligence, including navigation to function and class definitions, finding references, and code analysis.
code --user-data-dir ~/.config/Code-PHP --extensions-dir ~/.vscode-php --install-extension rokoroku.vscode-theme-darcula
code --user-data-dir ~/.config/Code-PHP --extensions-dir ~/.vscode-php --install-extension devsense.phptools-vscode
code --user-data-dir ~/.config/Code-PHP --extensions-dir ~/.vscode-php --install-extension bmewburn.vscode-intelephense-client
For example, when you place the cursor on a PHP function and use Go to Definition (F12), the PHP language tools can resolve the symbol and open the file at the function's declaration. This is especially useful when working across a large project with functions and classes spread over many files.
JavaScript and CSS environment
The JS and CSS environment has a separate set of frontend extensions. It includes the same editor theme, JavaScript linting, code formatting, CSS formatting, and color previews in CSS files.
code --user-data-dir ~/.config/Code-JS --extensions-dir ~/.vscode-js --install-extension rokoroku.vscode-theme-darcula
code --user-data-dir ~/.config/Code-JS --extensions-dir ~/.vscode-js --install-extension dbaeumer.vscode-eslint
code --user-data-dir ~/.config/Code-JS --extensions-dir ~/.vscode-js --install-extension esbenp.prettier-vscode
code --user-data-dir ~/.config/Code-JS --extensions-dir ~/.vscode-js --install-extension aeschli.vscode-css-formatter
code --user-data-dir ~/.config/Code-JS --extensions-dir ~/.vscode-js --install-extension kamikillerto.vscode-colorize
The JavaScript and CSS environment is also where the frontend build workflow is managed. Gulp tasks can handle operations such as minification, Gzip compression, and RTL file generation. Gulp and its project plugins are installed as part of the project's Node.js dependencies; they are not included in the VS Code extension commands above.
Clean Editor environment
No additional extensions are installed in the clean Editor environment. It is intentionally kept minimal for Markdown, notes, configuration files, documentation, and quick edits. Keeping this instance free of PHP and frontend extensions helps avoid loading tools that are not needed for simple editing.
4. Create separate application icons
Separate icons make it easy to recognise the active environment and launch the correct one from the desktop panel or dock.
Create an icon directory:
mkdir -p ~/.local/share/iconsCreate a blue PHP icon:
cat <<'EOF' > ~/.local/share/icons/vscode-php.svg
<svg xmlns="http://www.w3.org/2000/svg" viewBox="0 0 128 128">
  <rect width="128" height="128" rx="24" fill="#1e3a8a" />
  <text x="64" y="78" font-family="sans-serif" font-weight="bold" font-size="42" fill="#ffffff" text-anchor="middle">PHP</text>
</svg>
EOF
Create an ochre JavaScript icon:
cat <<'EOF' > ~/.local/share/icons/vscode-js.svg
<svg xmlns="http://www.w3.org/2000/svg" viewBox="0 0 128 128">
  <rect width="128" height="128" rx="24" fill="#78350f" />
  <text x="64" y="78" font-family="sans-serif" font-weight="bold" font-size="46" fill="#ffffff" text-anchor="middle">JS</text>
</svg>
EOF
Create a grey Editor icon:
cat <<'EOF' > ~/.local/share/icons/vscode-editor.svg
<svg xmlns="http://www.w3.org/2000/svg" viewBox="0 0 128 128">
  <rect width="128" height="128" rx="24" fill="#4b5563" />
  <text x="64" y="78" font-family="sans-serif" font-weight="bold" font-size="36" fill="#ffffff" text-anchor="middle">Editor</text>
</svg>
EOF
5. Create three desktop launchers
A separate launcher is needed for each environment. The launchers use the same VS Code executable, but pass different data and extension directories.
Create the application directory:
mkdir -p ~/.local/share/applicationsThe examples below are for a Wayland session. If you use an X11 session, remove the --ozone-platform=wayland argument from each Exec line.
PHP launcher
Save this as ~/.local/share/applications/vscode-php_code.desktop:
[Desktop Entry]
Version=1.0
Name=VS Code - PHP
Comment=PHP development environment
Exec=env SNAP_INSTANCE_NAME=vscode-php VSCODE_ENV=php /usr/bin/code --ozone-platform=wayland --user-data-dir=/home/user/.config/Code-PHP --extensions-dir=/home/user/.vscode-php %F
Icon=/home/user/.local/share/icons/vscode-php.svg
Terminal=false
Type=Application
Categories=Development;IDE;
JavaScript and CSS launcher
Save this as ~/.local/share/applications/vscode-js_code.desktop:
[Desktop Entry]
Version=1.0
Name=VS Code - JS & Gulp
Comment=JavaScript, CSS, and Gulp development environment
Exec=env SNAP_INSTANCE_NAME=vscode-js VSCODE_ENV=js /usr/bin/code --ozone-platform=wayland --user-data-dir=/home/user/.config/Code-JS --extensions-dir=/home/user/.vscode-js %F
Icon=/home/user/.local/share/icons/vscode-js.svg
Terminal=false
Type=Application
Categories=Development;IDE;
Clean Editor launcher
Save this as ~/.local/share/applications/vscode-editor_code.desktop:
[Desktop Entry]
Version=1.0
Name=VS Code - Editor
Comment=Clean editor for notes, Markdown, and quick changes
Exec=env SNAP_INSTANCE_NAME=vscode-editor VSCODE_ENV=editor /usr/bin/code --ozone-platform=wayland --user-data-dir=/home/user/.config/Code-Editor --extensions-dir=/home/user/.vscode-editor %F
Icon=/home/user/.local/share/icons/vscode-editor.svg
Terminal=false
Type=Application
Categories=Development;IDE;
The SNAP_INSTANCE_NAME value is different for each launcher. It gives each VS Code window a distinct desktop application identity, which helps the desktop environment match the running window with the correct launcher and icon.
The paths in the examples use /home/user. If your Linux account has a different home directory, update the paths in all three launchers.
6. Give each environment its own colours
The icons help identify the application before it opens. Different title bar and status bar colours make the active environment easy to recognise while working.
The settings are stored in each instance's own settings.json file.
PHP: blue
Edit ~/.config/Code-PHP/User/settings.json:
{
  "workbench.colorTheme": "Darcula",
  "window.title": "${dirty}${activeEditorShort}${separator}${rootName}${separator}[PHP]",
  "workbench.colorCustomizations": {
    "activityBar.background": "#1e3a8a",
    "titleBar.activeBackground": "#172554",
    "statusBar.background": "#1e3a8a"
  }
}
JavaScript and CSS: ochre
Edit ~/.config/Code-JS/User/settings.json:
{
  "workbench.colorTheme": "Darcula",
  "window.title": "${dirty}${activeEditorShort}${separator}${rootName}${separator}[JS]",
  "workbench.sideBar.location": "right",
  "workbench.colorCustomizations": {
    "activityBar.background": "#78350f",
    "titleBar.activeBackground": "#451a03",
    "statusBar.background": "#78350f"
  }
}
Clean Editor: grey
Edit ~/.config/Code-Editor/User/settings.json:
{
  "workbench.colorTheme": "Default Light Modern",
  "window.title": "${dirty}${activeEditorShort}${separator}${rootName}${separator}[Editor]",
  "workbench.colorCustomizations": {
    "statusBar.background": "#4b5563",
    "statusBar.foreground": "#ffffff",
    "statusBar.noFolderBackground": "#4b5563",
    "statusBar.debuggingBackground": "#4b5563",
    "statusBar.noFolderForeground": "#ffffff"
  }
}
There is a small but important detail in the Editor settings. VS Code uses different status bar color settings for different states:
statusBar.backgroundis used when a folder or workspace is open;statusBar.noFolderBackgroundis used when no folder is open;statusBar.debuggingBackgroundis used while a debug session is running;statusBar.noFolderForegroundcontrols the text color when no folder is open.
The clean Editor is often opened without a project folder. Setting only the normal statusBar.background therefore does not keep the grey color in every situation. The additional values make the status bar consistent, including the no-folder state. The explicit foreground value keeps the text white and readable.
7. Refresh the application menu and pin the launchers
The final step depends on the desktop environment.
Kubuntu with KDE Plasma
Refresh the desktop application cache:
kbuildsycoca6 --noincremental
update-desktop-database ~/.local/share/applications/
Close any running VS Code windows. Start each environment from the application menu. When the three windows appear with their own icons, right-click each icon in the Task Manager and choose Pin to Task Manager.
Ubuntu with GNOME
The VS Code directories, icons, and .desktop files are the same. KDE's kbuildsycoca6 command is not used on GNOME. Update the desktop database:
update-desktop-database ~/.local/share/applications/Open the Activities overview, search for each launcher, and add it to Favorites. The pinned icons will then be available in the Ubuntu Dock.
The important difference is the desktop shell, not the VS Code isolation itself. The three sets of settings and extensions work in both Ubuntu and Kubuntu. The exact pinning steps and icon matching may depend on the desktop environment and Wayland session.
8. Customise each environment for the way you work
Separate VS Code environments also make it possible to use a different editor layout for each type of work. There is no need to use the same panel positions or the same interface behaviour for PHP and JavaScript. Each environment can have its own layout, depending on what makes the work more comfortable and efficient.
For example, in our JavaScript and CSS environment, we prefer to keep the Explorer panel open on the right side. Having the folder and file list always visible makes it easy to move between scripts, stylesheets, and build files. This can be set with "workbench.sideBar.location": "right" in the JS environment's settings.json file.
In the PHP environment, we prefer to work without the side panel taking up screen space. Instead of closing it manually every time, we wanted it to close automatically when a file receives focus.
There are already VS Code extensions that can help automate this kind of behaviour. In our setup, we decided to write a small custom extension for this simple task. It closes the sidebar when the editor receives focus. Because the extension is installed only in the PHP environment, it does not change the layout or behaviour of the JavaScript and CSS environment.
code --user-data-dir ~/.config/Code-PHP \
  --extensions-dir ~/.vscode-php \
  --install-extension /home/user/path/to/auto-close-sidebar.vsix
This is a small example, but it shows another benefit of separate environments: each one can have its own extensions, layout, and workflow. The goal is not to make every setup identical, but to make each one fit the work being done.
The result: less overhead, less clutter, faster work
The main idea is not to install more tools or to keep tuning one huge editor setup. It is to give every task only the tools it needs.
- PHP gets its own code intelligence and navigation tools.
- JavaScript and CSS get their own frontend tools and Gulp workflow.
- The clean editor stays ready for notes, Markdown, and quick changes.
All three environments still use the same VS Code installation. They simply have separate user data, extensions, launchers, icons, and interface settings.
This approach started as a way to make development faster and the editor more responsive. It also makes the workflow easier to understand. Open the PHP icon for PHP work, the JS icon for frontend work, or the grey Editor icon for everything else.
A focused editor is often a faster editor.