This article explains how to create a flag in the wind effect in GIMP (version 2.6.3, Windows).
For creating a flag in the wind effect you need to install:
- GIMP - GIMP is the GNU Image Manipulation Program.
- layer-effects_24.scm - a set of layer effects script for GIMP
- webexport.exe - Save for Web plug-in for GIMP
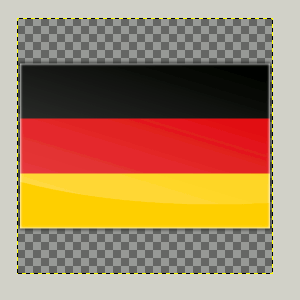
and you need to create a flag icon (see this article).
Open your GIMP and the file where you have stored the flag (e.g flag.xcf).
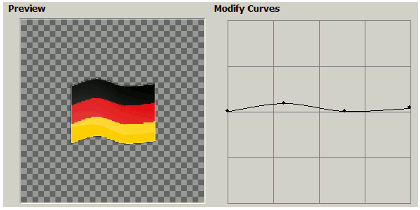
For creating a flag in the wind effect we need to merge all visible layers. We will apply effects on all layers of the file. Go to Image » Merge Visible Layers (CTRL + M). In Layers Merge Option set: Expanded as necessary and click on Merge. All layers will be merged. Only one layer will be creted. Select this layer (make this layer active in Layers Window) and go to Filters » Distorts » Curve Bend. Now change the curve to your own (select Automatic Preview to view the outcome). If you have changed the curve then click on Copy button (below the Modify Curves graph) to get the curve effect in the top and in the bottom of the flag.
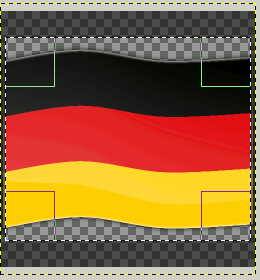
The effect is done but in our image we can see a rough effects.
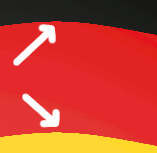
So we need to use some blur effect to blur the rough lines. Click on Retangle Select Tool ( ![]() ) and select the whole flag from top to bottom but don't select the left and right borders of the flag because they are straight and don't need the blur effect.
) and select the whole flag from top to bottom but don't select the left and right borders of the flag because they are straight and don't need the blur effect.
Go to Filters » Blur » Motion Blur and set:
- Length: 16
- Angle: 0
and click OK.
Go to File » Save for Web, select PNG 24, size 512 x 512 (or e.g. 256 x 256, 48 x 48) and save your image. Now your flag in the wind effect should be created. Don't forget to save the file as .xcf (GIMP format with layers) for future editing.
German flag in the wind effect:

Czech flag in the wind effect: